Spring into action! Your 6 step guide to spring flowering bulbs.
Although Spring is still months away. Now is the time to think about planting your spring-flowering bulbs. Daffodils, Tulips, Hyacinthus, and snowdrops, to name a few. Need tucking in this autumn to allow them to spring forth in March and flower through till May. Here at Chepstow Garden centre want to help you make the most of your bulbs this spring. Follow our 6 step guide on Spring flowering bulbs, helping you with your bulb journey
1. I choose you!
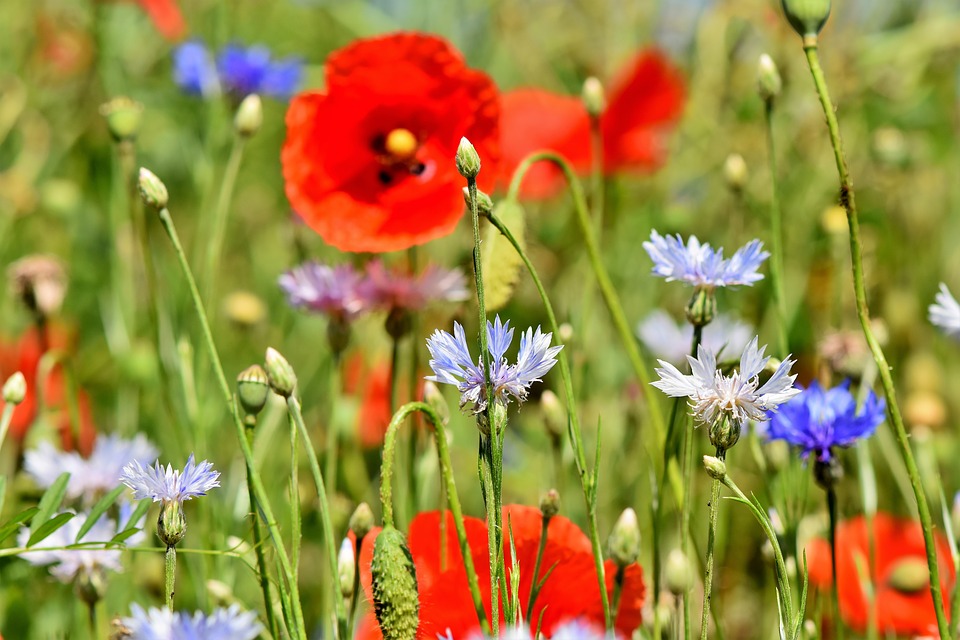
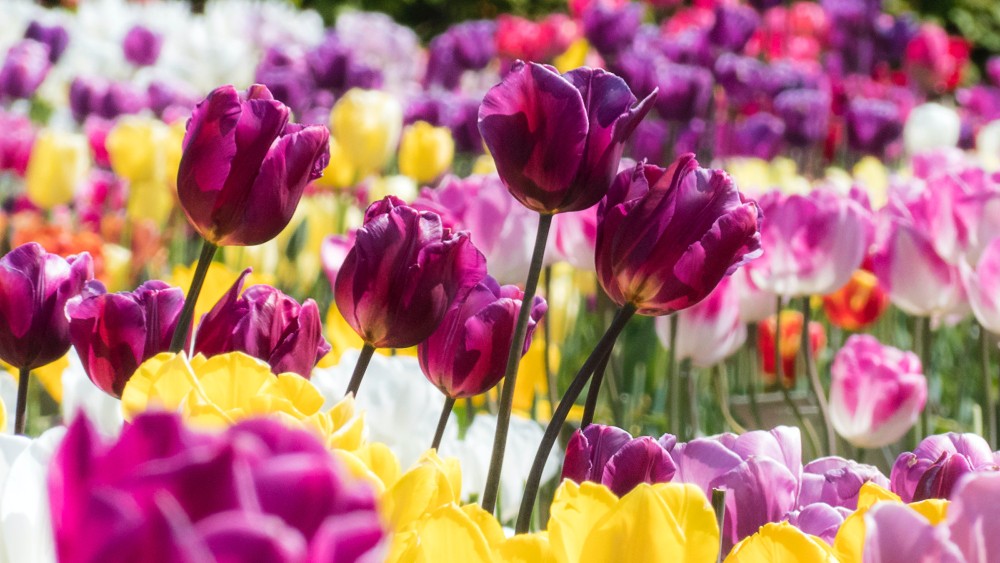
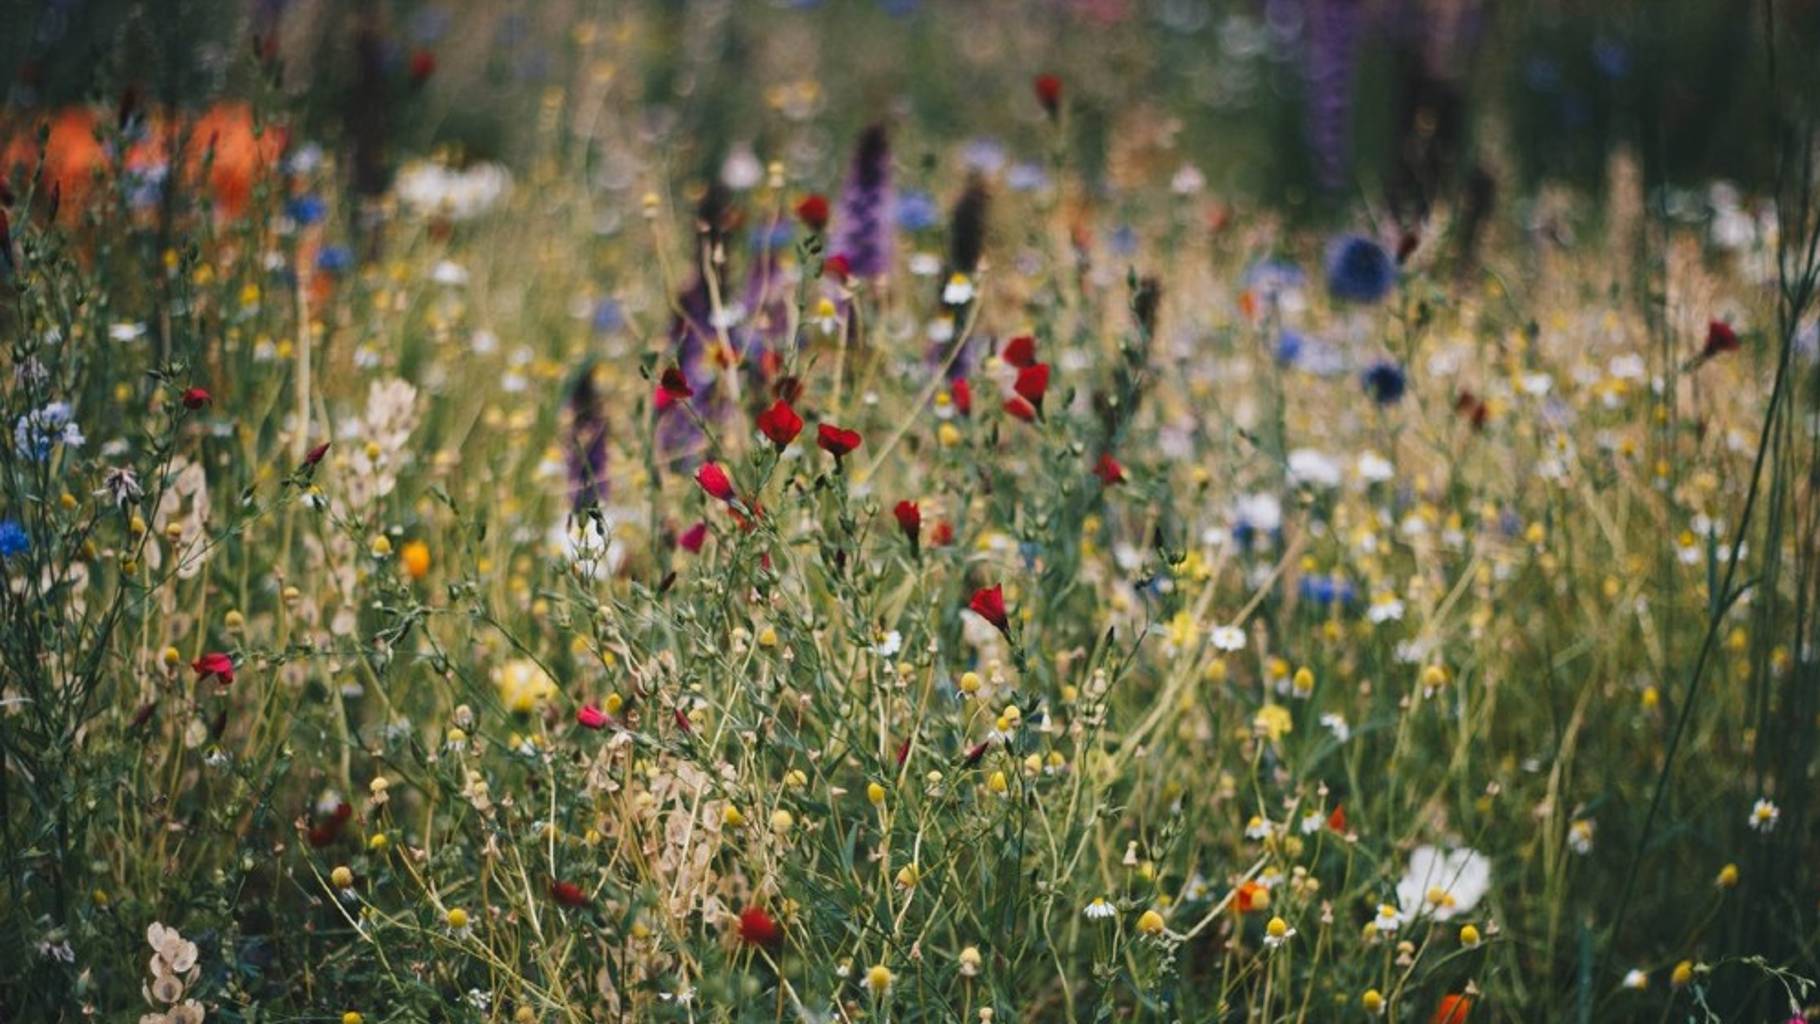
How do you know what’s right for you and your garden? you may already have an idea of what you want, or you’re still looking for inspiration. You could re-create the tulip fields of Holland with rows of tulips in every radiant colour. Or create a natural meadow flow by placing your variety of bulbs in a sporadic pattern. Creating a contrasting but complementary array of colours.
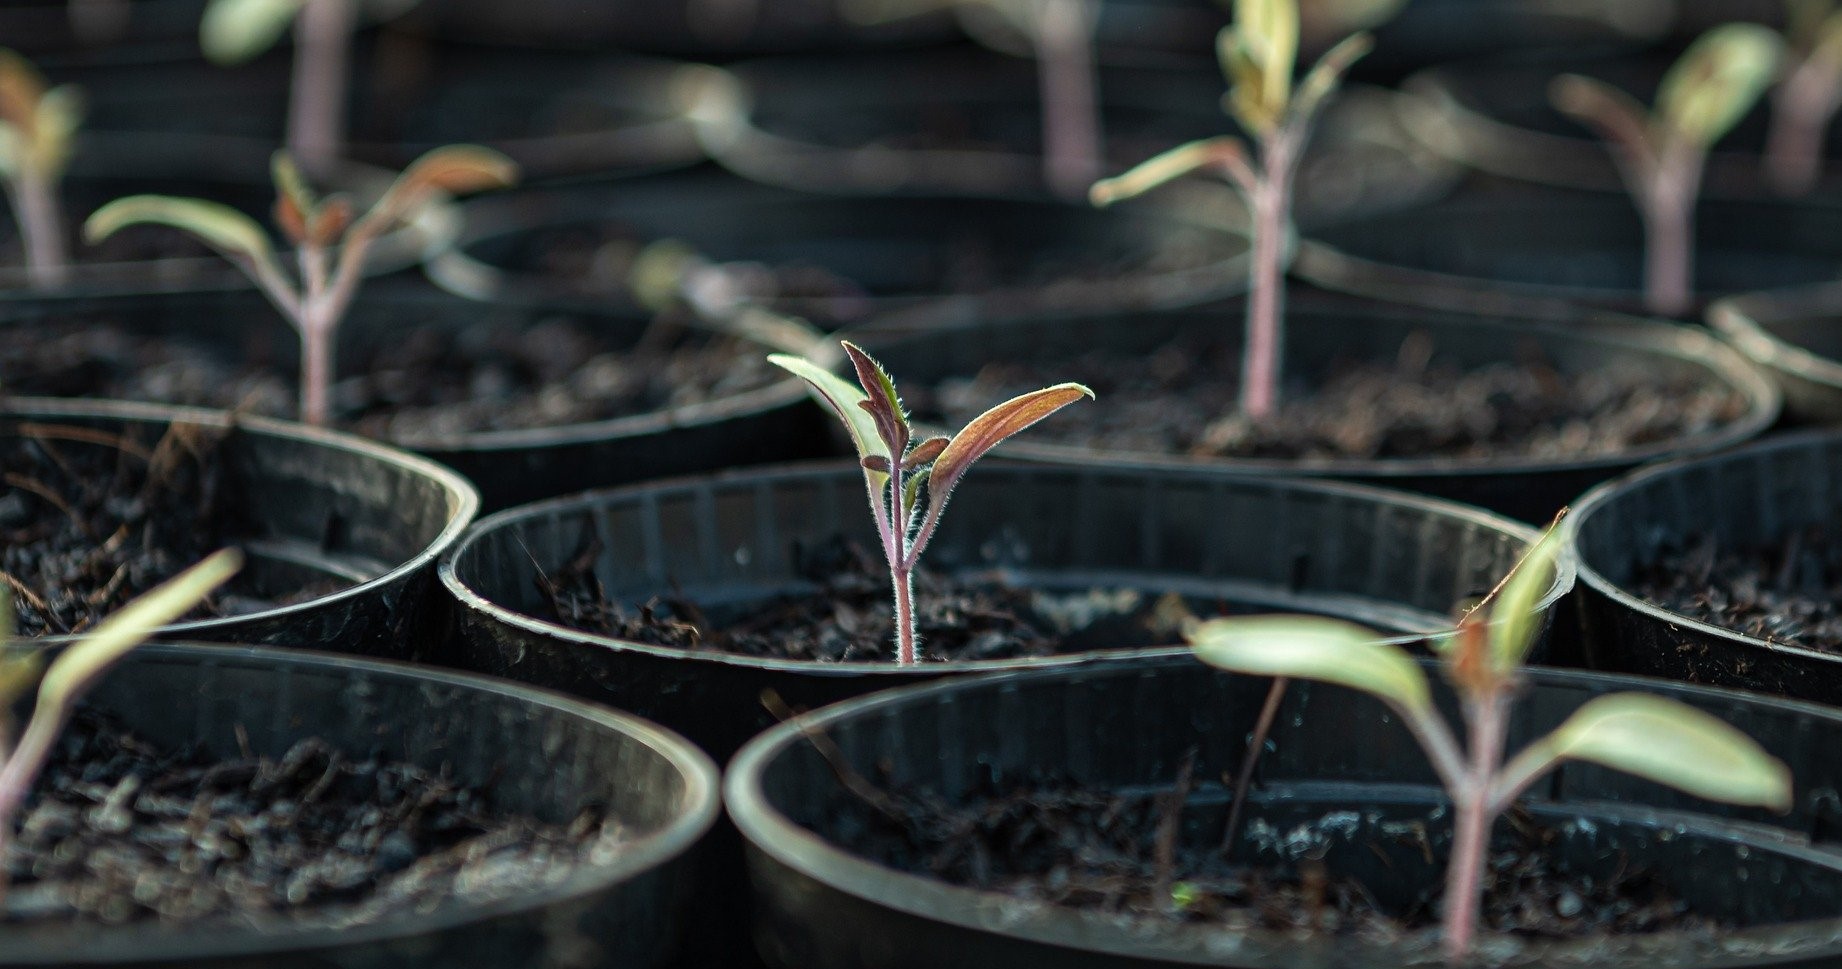
When buying your bulbs check they aren’t soft, mouldy or look withered or shrivelled. These bulbs are gone off and are no longer viable for planting. If you are in want of lots of flowers, look for the larger bulbs. These may be much higher in price, but you will get a higher quantity of flowers from them. However, don’t discount smaller bulbs as they are still good. You may get smaller or fewer flowers to appear.
The majority of spring-flowering bulbs enjoy full sun. Do not discount all shaded spots in your garden. As these bulbs flower before trees are covered in leaves. So, some shaded spots may have more sun than later in the year. But most bulbs will thrive best in a sunny spot with well-drained soil. Pots, beds or containers, your options are limitless. If you plan to plant in a container look into more bold, centrepiece flowers. Flowers such as Tulips, Lilies or Alliums look great showcased in planted containers.
You’ve picked your bulbs and location but, now to make sure we plant them correctly and at the right time. Spring flowering bulbs should be planted between September and November. But check bulb packets for specific instructions. When planting your bulbs general rule of thumb is diameter x3. Plant your bulbs 3 times as deep as the diameter of the bulb itself. You can use a bulb planter to help ensure you are planting your bulbs deep enough.
Also, make sure to place your bulbs at least a bulbs width apart. Now check you are planting your bulb right side up; most bulbs have an obvious top and bottom. If you do struggle to tell which end is the top plant your bulb on its side. This will allow the stem to find its way to the surface.
If you are planting in a border or bed, make sure when replacing the soil. To firm down with the back of a rake and not tread on the soil as this will damage the bulbs. If the soil is dry after planting water straight after, if not leave until the soil is dryer.
If you decide to plant in a container, consider if your bulbs are doing one season or long term. If only one season, plant your bulbs in 3 parts multipurpose and one pat grit. If they’re long term, plant your bulbs in 3 parts john Innes no.2 and one part grit.
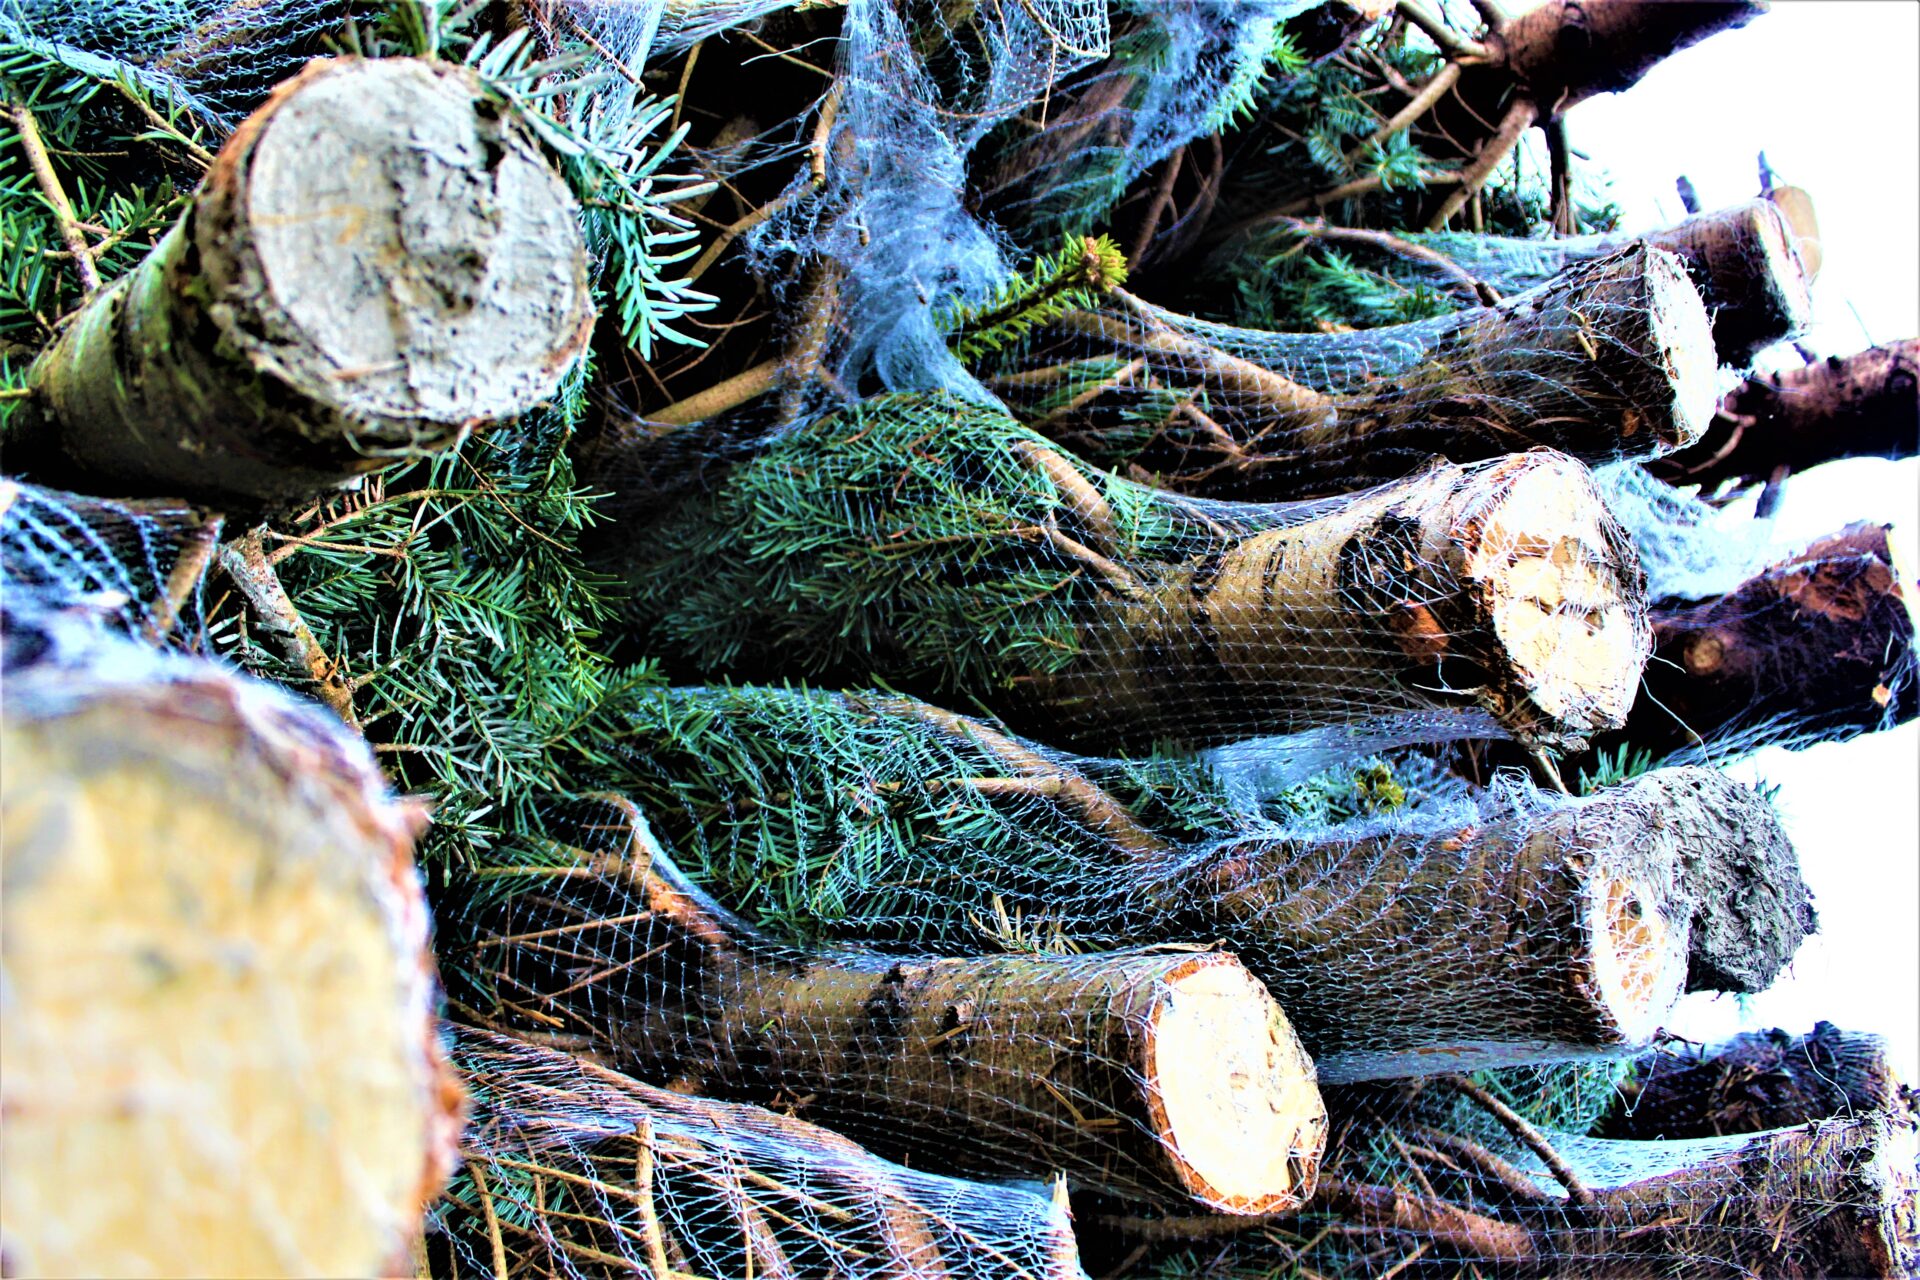
There’s nothing worse than your hard work wasted because of pests and diseases. The ones to look out for are squirrels, mice, and rats. If you encounter this problem, you can cover your bulbs in hardware cloth. A metal fabric that allows your plants roots and stems to grow through but stops pests from reaching the bulbs. Dastardly disease to watch out for grey mould, basal rot, and tulip fire. Remove any diseased flowers or leaves. Spray plants with disease control spray such as bug clear.
5. Garden Grand Design
Before you speed off in excitement to plant your bulbs, consider the look you aiming to achieve. Are you a fan of the natural look, plant your bulbs in drifts. Toss your bulbs in the air and dig where they land. Or plant bulbs in odd numbers, this helps create the illusions of natural gardening. Or if uniformity is your style why not take inspiration from the tulip fields of Holland. With the vast range of colours and varieties of spring-flowering bulbs. You can create a sensational display in any garden.
Once your bulbs have flowered and are starting to wither down, what is next? After your bulbs have finished flowering keep watering with general multipurpose fertiliser. Take off any remaining flowers to help redirect the bulb’s energy into producing a good new bulb. Once all your leaves turn yellow take the bulbs up using a bulb tray, sift off the excess dirt.
Clean off any excess till your left with a firm and clean bulb. Discard any bulbs that are soft, too small or showing any signs of mould or disease. Store in a cool dry place and keep in a paper bag or net, like the one’s oranges, come in. If you decide to leave your bulbs in until next season, make sure to cut back any yellow foliage.
There you have it our guide to springtime bulbs, to help you through your bulb journey from start to finish. We here at Norton Garden Centre can’t wait to see your super springtime creations in the new year.
We use cookies on our website to give you the most relevant experience by remembering your preferences and repeat visits. By clicking “Accept”, you consent to the use of ALL the cookies. However you may visit Cookie Settings to provide a controlled consent.
This website uses cookies to improve your experience while you navigate through the website. Out of these cookies, the cookies that are categorized as necessary are stored on your browser as they are essential for the working of basic functionalities of the website. We also use third-party cookies that help us analyze and understand how you use this website. These cookies will be stored in your browser only with your consent. You also have the option to opt-out of these cookies. But opting out of some of these cookies may have an effect on your browsing experience.
Necessary cookies are absolutely essential for the website to function properly. These cookies ensure basic functionalities and security features of the website, anonymously.
Cookie
Duration
Description
cf_ob_info
1 minute
The cf_ob_info cookie is set by Cloudflare to provide information on HTTP Status Code returned by the origin web server, the Ray ID of the original failed request and the data center serving the traffic.
cf_use_ob
1 minute
Cloudflare sets this cookie to improve page load times and to disallow any security restrictions based on the visitor's IP address.
CookieLawInfoConsent
1 year
CookieYes sets this cookie to record the default button state of the corresponding category and the status of CCPA. It works only in coordination with the primary cookie.
elementor
never
The website's WordPress theme uses this cookie. It allows the website owner to implement or change the website's content in real-time.
rc::a
never
This cookie is set by the Google recaptcha service to identify bots to protect the website against malicious spam attacks.
rc::c
session
This cookie is set by the Google recaptcha service to identify bots to protect the website against malicious spam attacks.
viewed_cookie_policy
1 year
The GDPR Cookie Consent plugin sets the cookie to store whether or not the user has consented to use cookies. It does not store any personal data.
wpEmojiSettingsSupports
session
WordPress sets this cookie when a user interacts with emojis on a WordPress site. It helps determine if the user's browser can display emojis properly.
Advertisement cookies are used to provide visitors with relevant ads and marketing campaigns. These cookies track visitors across websites and collect information to provide customized ads.
Cookie
Duration
Description
fr
3 months
Facebook sets this cookie to show relevant advertisements by tracking user behaviour across the web, on sites with Facebook pixel or Facebook social plugin.
Analytical cookies are used to understand how visitors interact with the website. These cookies help provide information on metrics the number of visitors, bounce rate, traffic source, etc.
Cookie
Duration
Description
_fbp
3 months
Facebook sets this cookie to display advertisements when either on Facebook or on a digital platform powered by Facebook advertising after visiting the website.
_ga
1 year 1 month 4 days
Google Analytics sets this cookie to calculate visitor, session and campaign data and track site usage for the site's analytics report. The cookie stores information anonymously and assigns a randomly generated number to recognise unique visitors.
_ga_*
1 year 1 month 4 days
Google Analytics sets this cookie to store and count page views.